Phycial Computing Final Project: Part Two
Interacting with RGB LEDs with the Pi and Setting Colours for Emotions!
Introduction...
The next step in this mood light project is to start interacting with the RGB LED from the Pi with Python. This means we will be able to change the colour of the LED based on what is returned from the Azure API. As mentioned in Part 1 of this project, Python makes it very easy to interact with the GPIO pins of the Raspberry Pi, almost as easy as it is on the Arduino! Another important step that needs to be taken is determining what colours will be used for each emotion and then using the returned emotion in order to light up the LED in the specified colour!
Components Needed...
- Raspberry Pi with Rasbian installed.
- Breadboard.
- Raspberry Pi Camera Module.
- 1 x RGB LED
- 4 x Resistor.
- Jumper Wires.
Getting Started with GPIO...
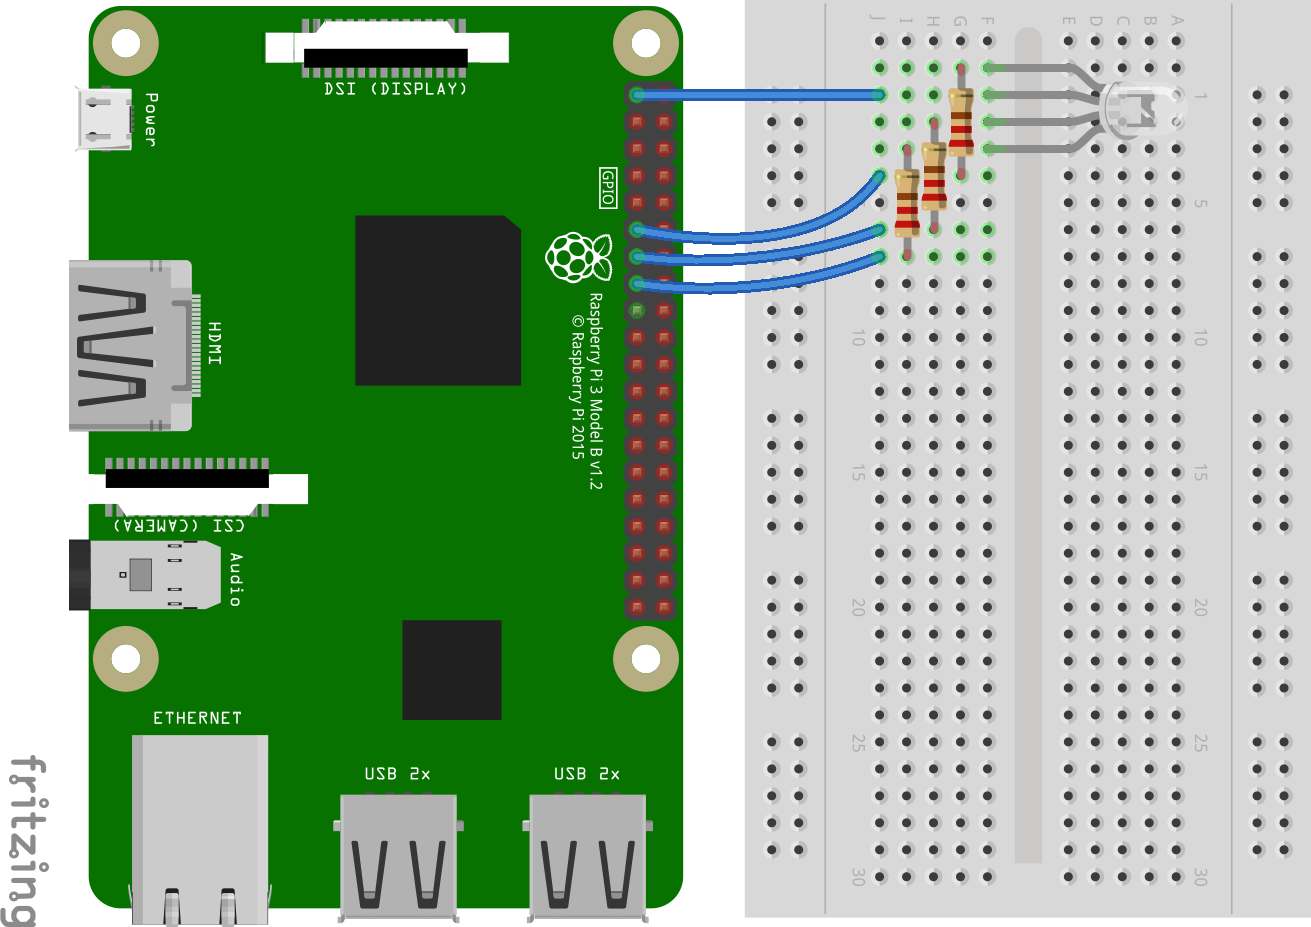
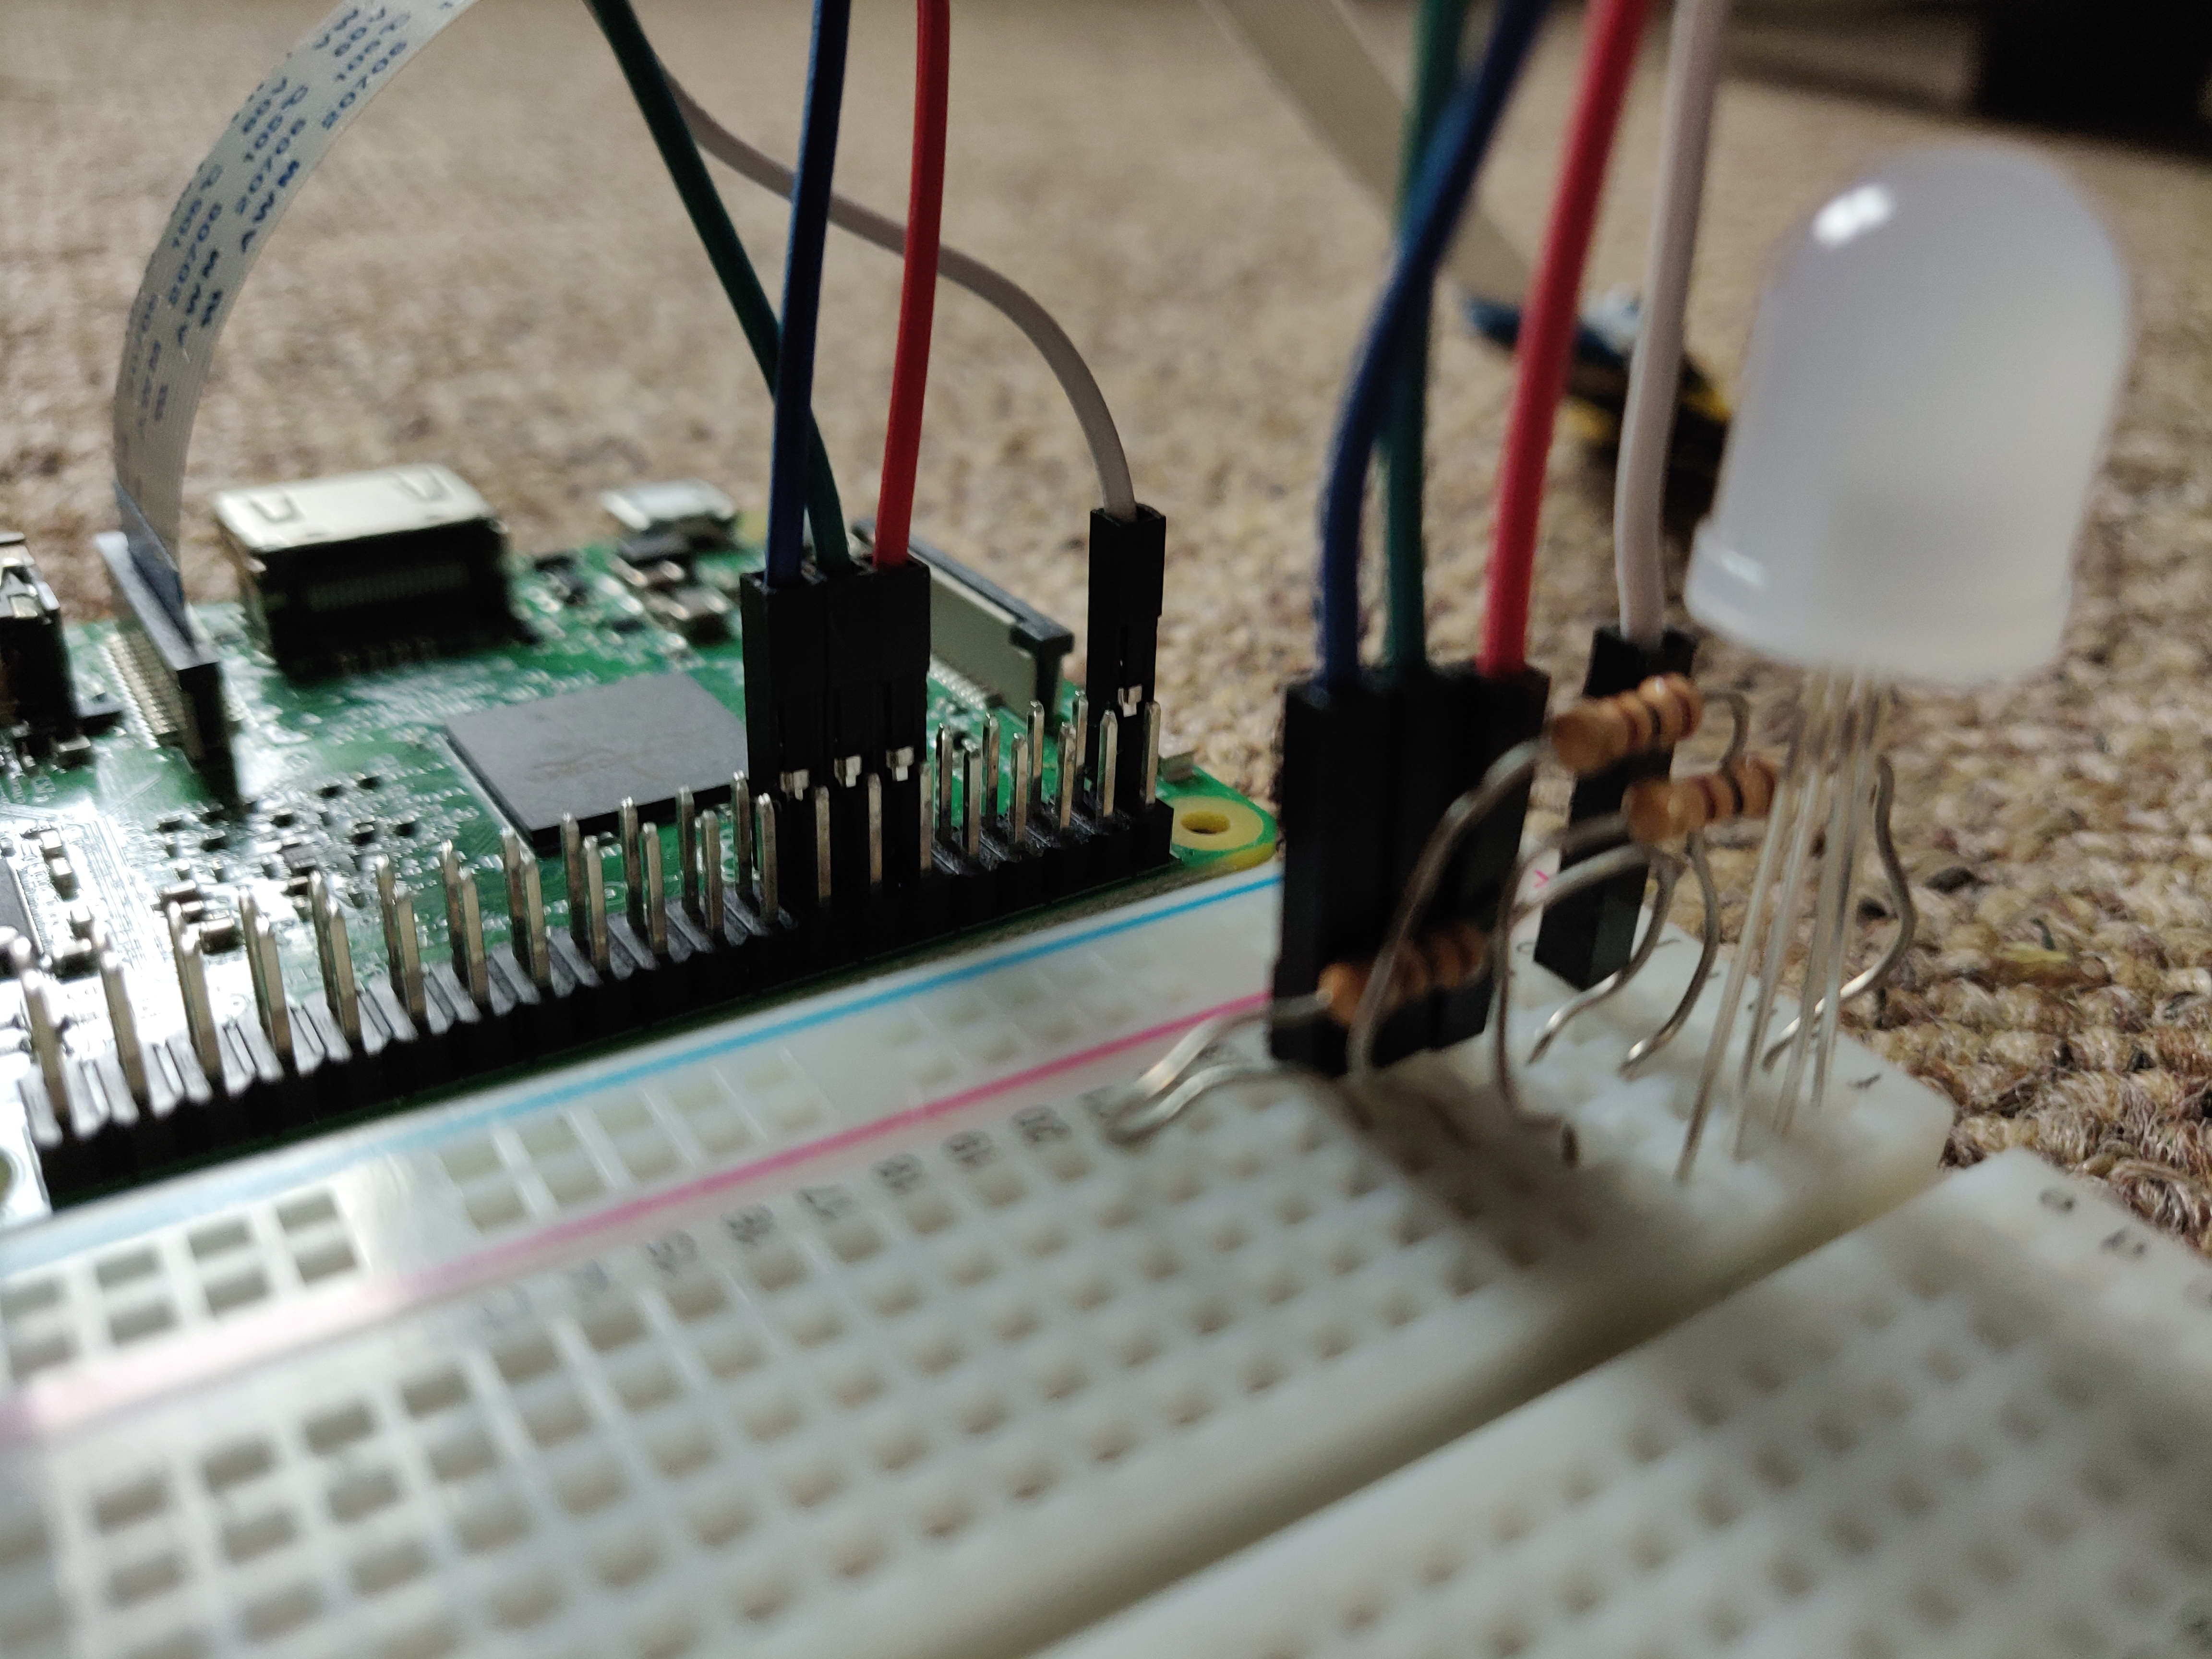
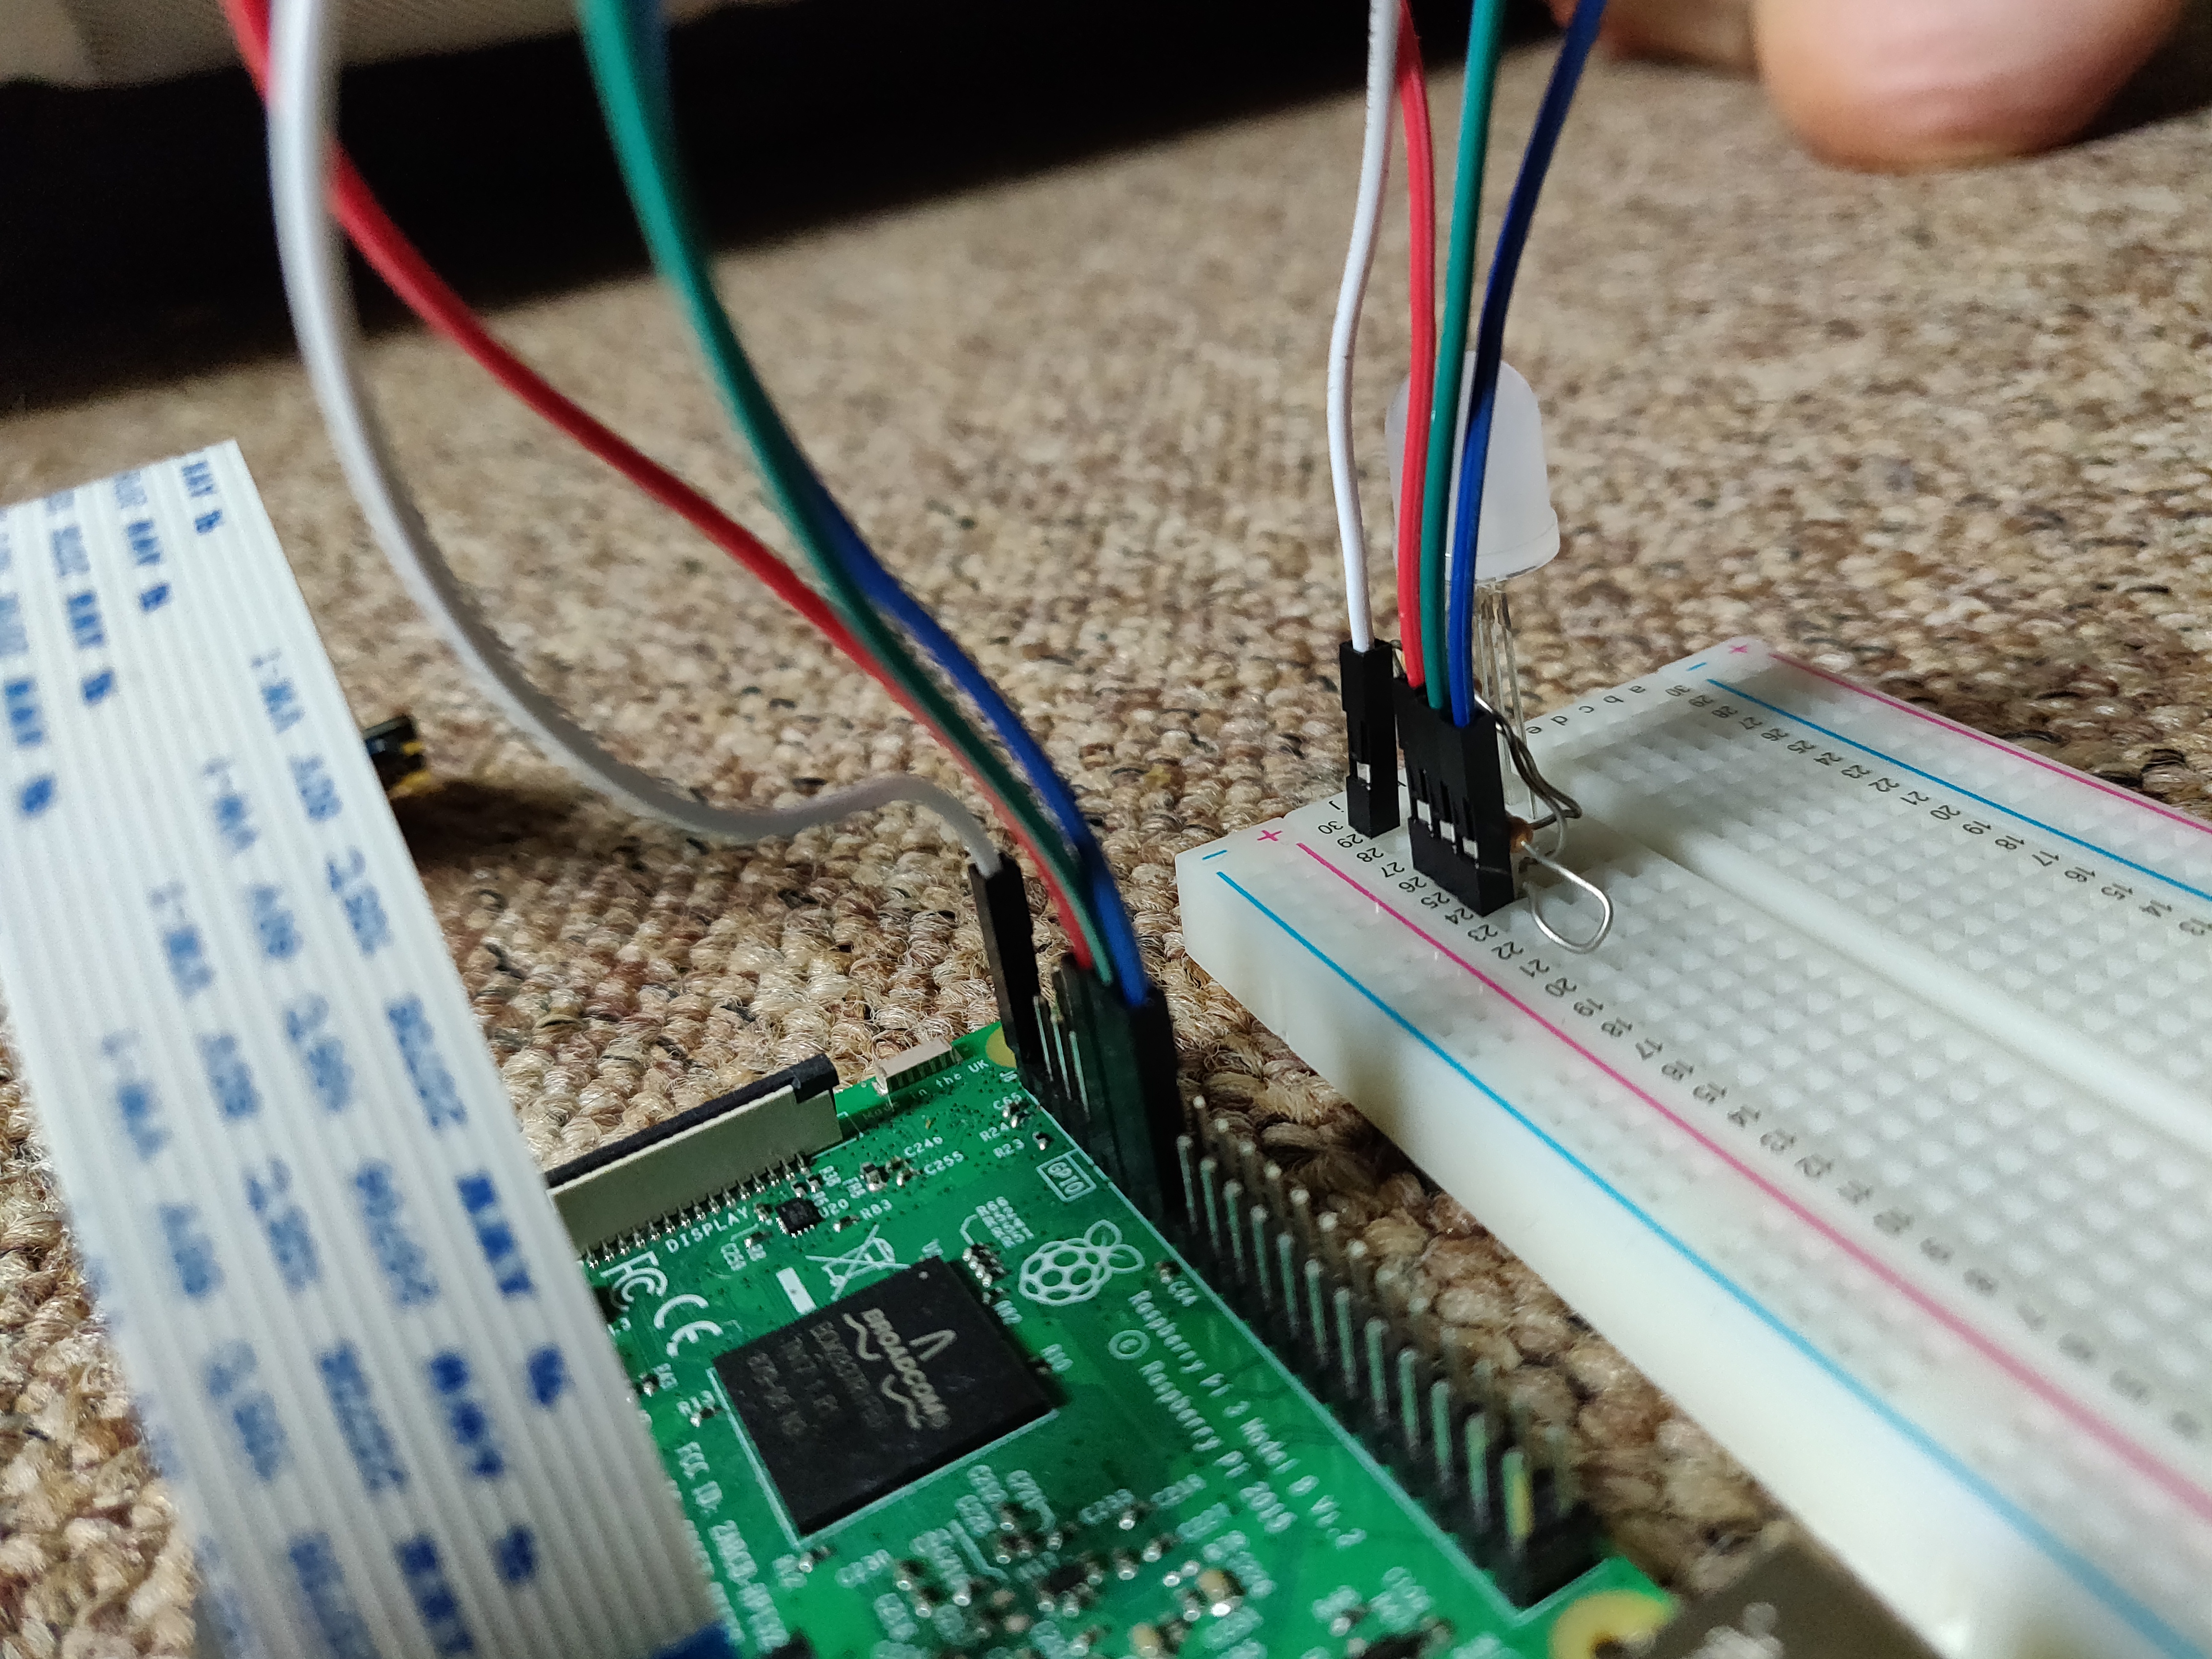
In order to interact with the GPIO pins on the Raspberry Pi we need to employ the use of the GPIO library. The GPIO library simply enables us to use send input and receive output to and from compoents through the pins on the Pi itself, much like how we use the I/O pins on the Arduino. The first task I will be showing is simply turning on the RGB LED with the Pi, just so we can get used to how the GPIO pins work before moving onto slightly more complex things! So start up your pi (I am currently running Rasbian OS) and open up a text editor of your choice. We can straight away start assembling the circuit. We have one wire running from the 3.3v pin on the Pi to the longest pin of the RGB LED, and three wires from the GPIO pins to the other legs of the LED. In this case, I am using 11, 13, and 15, but feel free to use your own! The circuit for this is shown below.
The code itself is very concise if we just want to get the LED turning on and off. First of all we import the RPi.GPIO library and set a more legible name for it so we can implement it more easily in the rest of the code, in this case I have simply used 'GPIO'. We then set the mode, in this case we are using 'GPIO.BOARD', and finally set the warnings to 'False' so we can keep the code running without any errors coming up in the console. For a circuit this simple, the warnings are not going to provide us with anything of great concern, so it is fine to keep them off for now. If you were to expand this project and start adding more components, it may be worthwhile to set the warning to 'True' for testing purposes, just in case. The next step is to specify the pins we are using, much like we have done previiously with the Arduino. As mentioned above; I am using pin 11, 13, and 15 for the red, green and blue pins correspondingly. The 'GPIO.setup()' function is used to tell the Pi these are the pin we are using, and the 'GPIO.OUT' is used to specify how we are using the component. In this case, the LED is being used as an output.
Once all the pins are set up, we can then move on to actually getting some colour from the LED. As we are using pulse width modulation, we first have to set a frequency, in this case I am using '100'. We then set up the pins for pulse width modulation with the 'GPIO.PWM()' command, specify what pin we are using and parse the frequency variable we have just specified. Finally, to turn the LED on we use the '.start()' function for each pin and specify how powerful each colour will be. We can view this much like a percentage, just reversed; the maximum value we can set is '100', with the minimum being '1'. However, in this case, '1' is the highest and '100' is the lowest. For example, if we wanted to make the LED glow red, we would set the value of the red pin to '1' and both the green and the blue pin to '100'. This is shown in the code below. We also import the 'time' library. This is simply so we can add a delay to the code to keep the LED on for a specified amount of time! If this was not done, the LED would turn on for a matter of milliseconds and then turn off, which wouldn't be very exciting! The final aspect to mention is the GPIO.cleanup() function. Acoording to Alex Eames (2013) from the raspi.tv website this code 'resets any ports you have used in this program back to input mode. This prevents damage from, say, a situation where you have a port set HIGH as an output and you accidentally connect it to GND (LOW), which would short-circuit the port and possibly fry it. Inputs can handle either 0V (LOW) or 3.3V (HIGH), so it’s safer to leave ports as inputs'. For more reading on this subject, click here.
                        # Importing the GPIO library and specify how we will refer to it. Also importing time library.
                        import time.
                        import RPi.GPIO as GPIO

                        # Set the board mode and the warnings to False.
                        GPIO.setmode(GPIO.BOARD)
                        GPIO.setwarnings(False)

                        # Specify what outputs on the GPIO are connected to which colour.
                        red_pin = 11
                        green_pin = 13
                        blue_pin = 15

                        # Telling the Pi which pins are being used and for what purpose (input or output).
                        GPIO.setup(red_pin, GPIO.OUT)
                        GPIO.setup(green_pin, GPIO.OUT)
                        GPIO.setup(blue_pin, GPIO.OUT)

                        # Setting the frequency for PWM.
                        frequency = 100

                        # Setting up the pins for PWM.
                        red = GPIO.PWM(red_pin, frequency)
                        green = GPIO.PWM(green_pin, frequency)
                        blue = GPIO.PWM(blue_pin, frequency)

                        # Make LED turn red.
                        red.start(1)
                        green.start(100)
                        blue.start(100)

                        # Delaying the program for 5 seconds.
                        time.delay(5)
Setting Colour for the Emotions...
Now to get creative. As mentioned in part one of this final project, the Azure API has the potential to recognise eight different emotion which are; anger, contempt, disgust, fear, happiness, neutral, sadness, and surprise. Some of these are fairly simple to connect with a colour, for exmaple anger is usually represented with red. However, some of these are rather ambiguous, such as disgust and surprise, and are a lot more difficult to connect with a colour. Below is a list of the emotions and the colours I corresponded them with. Keep in mind that these are completely my own interpretation and feel free to choose your own depending on how you define each emotion! As long as the colours are not dark, you should be fine, the reason for this will be explained later on.
- Anger: Red.
- Contempt: Light Green/Yellow.
- Disgust: Dirty Pale Green.
- Fear: Red.
- Happiness: Bright Orange.
- Neutral: White.
- Sadness: Blue
- Surprise: Magenta.
The next step is to convert these colours to values that we can input to the RGB LED. As mentioned preiously, we need to choose values between '1' and '100' to specify how much of each colour we want. Thankfully, there are a number of tools online to help with this. I used a combination of 'december.com', which shows percentage values for every colour you can think of, and 'color-tools.net', which allows you to specify percentages of RGB in order to create colours. As mentioned previously, you have to choose light colours that are fully saturated. This is because it is impossible to create darkness with an LED, which may seem obvious but was definitely something that confused me initially! As a result of this, some of the emotions were difficult to attribute to a colour. For me, disgust was the hardest, I wanted to create a dark, browny/green colour which is a colour I would associate with disgust, however this was not possible! I had to settle for pale green, which actually turned out to be quite a nice colour.
Once you have got your colours and their percentages, they now need to be reversed! So '100%' is '1%' and vice versa. You can just subtract your values from 100 in order to get the correct percentage, unless your initial value is '100' of course, in which case you would just change it to '1'! Below is the percentages and corresponding codes for each of the colours I choose above, or at least as close as I could get them! I created a seperate function for each of the emotions so they would be easier to access at a later date. I also created a seperate file for these colours as well so the program would be broken up a bit! I also define a function to turn the light off, just in case it is needed!
                        # Importing the GPIO library and specify how we will refer to it. Also importing time library.
                        import time.
                        import RPi.GPIO as GPIO

                        # Set the board mode and the warnings to False.
                        GPIO.setmode(GPIO.BOARD)
                        GPIO.setwarnings(False)

                        # Specify what outputs on the GPIO are connected to which colour.
                        red_pin = 11
                        green_pin = 13
                        blue_pin = 15

                        # Telling the Pi which pins are being used and for what purpose (input or output).
                        GPIO.setup(red_pin, GPIO.OUT)
                        GPIO.setup(green_pin, GPIO.OUT)
                        GPIO.setup(blue_pin, GPIO.OUT)

                        # Setting the frequency for PWM.
                        frequency = 100

                        # Setting up the pins for PWM.
                        red = GPIO.PWM(red_pin, frequency)
                        green = GPIO.PWM(green_pin, frequency)
                        blue = GPIO.PWM(blue_pin, frequency)

                        # Defining functions for each emoiton and the amount of each colour we want to produce from the RGB to represent these.
                        # Also defining function to turn LED off.
                        def anger():
                            red.start(1)
                            green.start(100)
                            blue.start(100)

                        def contempt():
                            red.start(1)
                            green.start(1)
                            blue.start(100)

                        def disgust():
                            red.start(66)
                            green.start(40)
                            blue.start(96)

                        def fear():
                            red.start(1)
                            green.start(95)
                            blue.start(100)

                        def happiness():
                            red.start(1)
                            green.start(65)
                            blue.start(100)

                        def neutral():
                            red.start(2)
                            green.start(24)
                            blue.start(44)

                        def sadness():
                            red.start(100)
                            green.start(100)
                            blue.start(50)

                        def surprise():
                            red.start(1)
                            green.start(100)
                            blue.start(50)

                        def light_off():
                            red.start(100)
                            green.start(100)
                            blue.start(100)

                        # Calling the happiness function to turn the LED to the specified colour.
                        # Also adding delay to keep the LED on for 5 seconds.
                        # Change the emotion to whichever one you wish to see using the name of the function!
                        if __name__ == '__main__':
                            happiness()
                            time.sleep(5)
Connecting Our LED Script to the API Script...
The next logical step would be to connect this light control script to the API script from the previous blog. The above code should be save as a seperate file, I named mine 'light_control.py', but feel free to name it whatever you like! Also, ensure this file is in the same directory as the API script! Navigate to and open up the API script as this is we need to make some changes to the code in order for it to utilise the functions from our LED script. The first change we need to make is to import the LED script we have just created; to do this, simply use the import command and specify the name of the file, in my case it was 'light_control' and then optionally specify a name you would like to refer to this script as, I chose emotion. The next step is to create a set of if/else statements in order to check the emotion returned to choose which colour we want the LED to be. There is probably a much more efficient way to do this, but as there are only a handful of emotions I would like to keep the code as simple as possible! Once we have checked the returned emotion we can call our function from the other script as follows; for example, if the returned emotion was happiness, we use the name specified in the 'import' (in my case I chose emotion), then we put a period and then the name of the function. So in full it would be 'emotion.happiness()' which will turn the LED orange! We can then add a delay to keep the LED on. Go ahead and test this with a few different faces that portray different emotions to check it is working properly!
                        # Import requests library and our LED functions.
                        import requests, time
                        import light_control as emotion

                        # Setting initial variables for strongest emotion and highest confidence level.
                        strongest_emotion = ''
                        largest_number = 0

                        # Specify your subscription key here.
                        subscription_key = None
                        assert subscription_key

                        # The endpoint from where you are getting the API key.
                        # This is specified on overview page on the Azure dashboard.
                        face_api_url = 'https://westcentralus.api.cognitive.microsoft.com/face/v1.0/detect'

                        # Specify the full path to your local image.
                        image_path = ''

                        # Open the image and store the data in a variable.
                        with open(image_path, 'rb') as f:
                            image_data = f.read()

                        # Set headers.
                        headers = { 'Ocp-Apim-Subscription-Key': subscription_key }

                        # Set params, i.e. what do you want to be returned. In this case we just want the emotion confidence levels.
                        params = {
                            'returnFaceAttributes': 'emotion',
                        }

                        # Calling the API with what is defined above and storing the response.
                        response = requests.post(face_api_url, params=params, headers=headers, data=image_data)
                        # Converting the reponse to a JSON dict.
                        response = reponse.json()
                        # Setting the response to the face attributes part of the dict.
                        response = reponse[0]['faceAttributes']

                        # Loop through the emotions returned and check the confidence level.
                        # The emotion that corresponds to the highest confidence level will be set to the strongest_emotion variable.
                        for k in reponse:
                            if reponse[k] > largest_number:
                                strongest_emotion = k

                        if strongest_emotion == 'anger':
                            emotion.anger()
                            time.sleep(5)
                        elif strongest_emotion == 'anger':
                            emotion.anger()
                            time.sleep(5)
                        elif strongest_emotion == 'contempt':
                            emotion.contempt()
                            time.sleep(5)
                        elif strongest_emotion == 'disgust':
                            emotion.disgust()
                            time.sleep(5)
                        elif strongest_emotion == 'fear':
                            emotion.fear()
                            time.sleep(5)
                        elif strongest_emotion == 'happiness':
                            emotion.happiness()
                            time.sleep(5)
                        elif strongest_emotion == 'neutral':
                            emotion.neutral()
                            time.sleep(5)
                        elif strongest_emotion == 'sadness':
                            emotion.sadness()
                            time.sleep(5)
                        elif strongest_emotion == 'surprise':
                            emotion.surprise()
                            time.sleep(5)
Conclusion...
This condludes the second part of this mood light project! We have created the backbone for this project and there are just a few more changes we need to make in order to turn this in to a fully functioning mood light. The next blog will cover how to connect the camera module to the Raspberry Pi and then upload images taken directly to the Azure API so we can capture emotions in real time and change the colour of the LED!